04 Jan Shirt Care Guide: How to Keep Your Shirts Looking Their Best
We understand that shirts are staples of men’s wardrobes. However, to this day, a lot of men struggle to care for their shirts properly. With the overwhelming instructions, it’s easier to throw them into the washing machine and hope for the best.
That is why we present our simple shirt care guide, which covers everything a man needs to know to keep their shirt looking new.
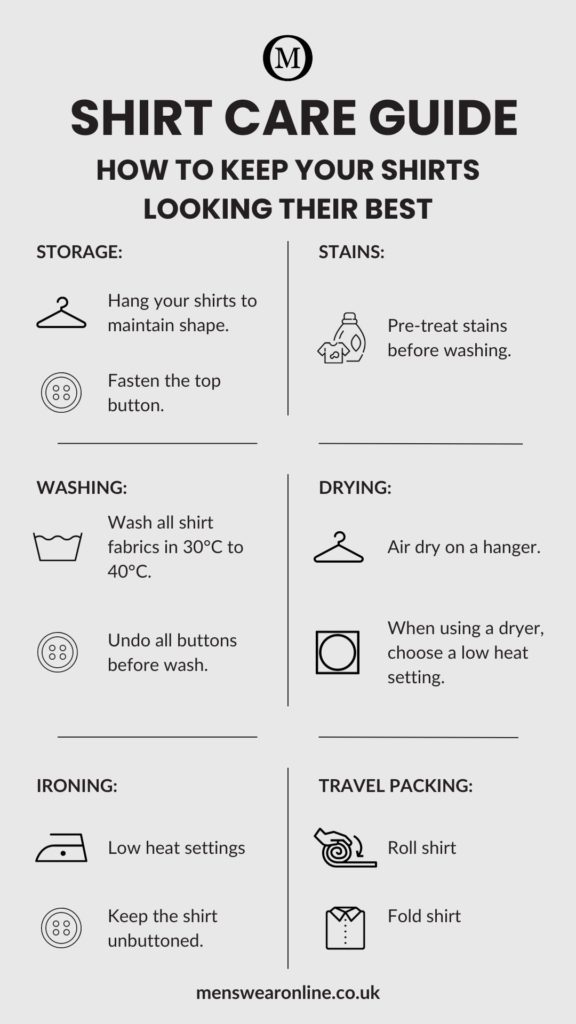
Storage

– Hang your shirts on sturdy hangers as this helps maintain their shape.
– Fasten the top button before hanging your shirt. This simple trick preserves the collar’s shape and keeps the front panels neatly aligned.
– Consider protecting any shirts you won’t be wearing for a while by storing in a garment bag. They’ll protect the shirts from dust, sunlight, keeping them looking fresh and new.

– Aim for a dark, clean, and dry closet for optimal shirt storage. This helps prevent fading from UV rays, slowing down bacteria growth and keeping your clothes smelling their best.
STAIN TREATMENT
– Pre-treat stains before washing. Use stain remover or spot treatment designated for the type of stain you are dealing with.
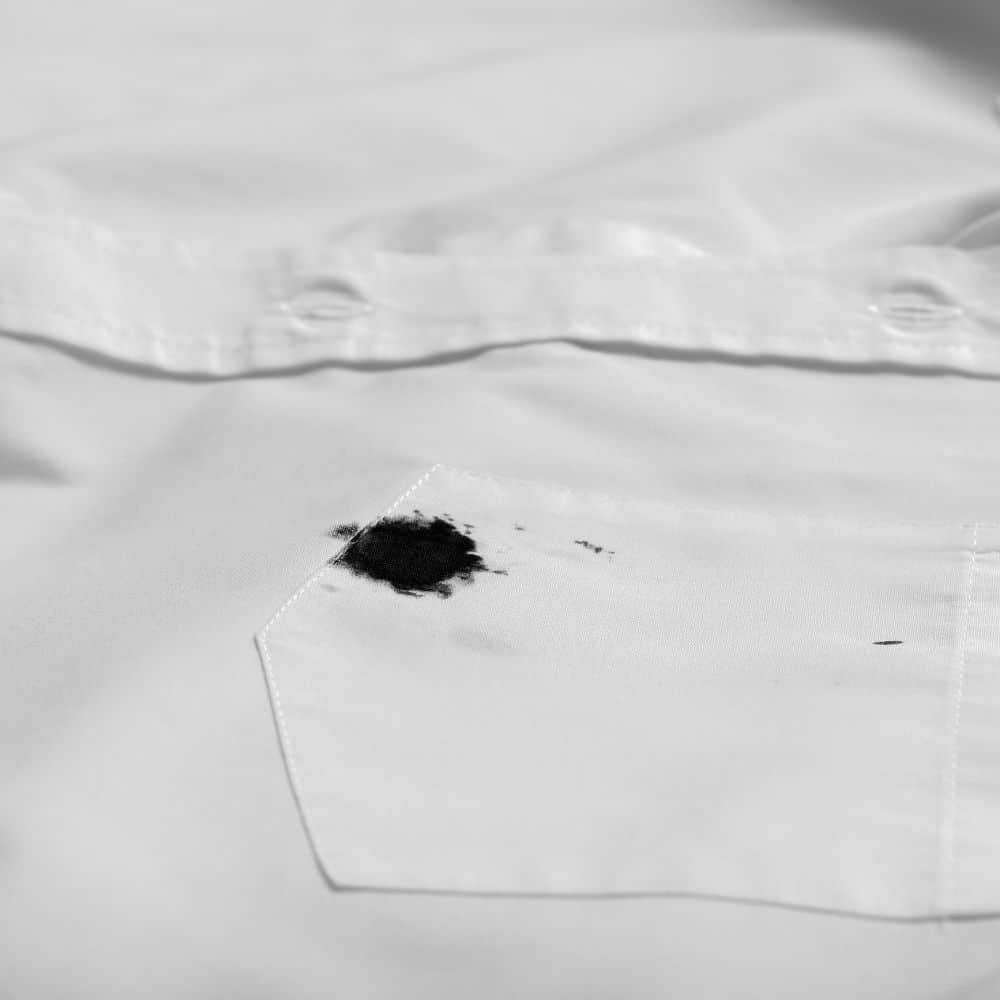
INK Stains
Fresh INK Stain
– Gently dab the stained area with a clean, absorbent cloth or paper towel. Rubbing can spread the ink further.
– Spray a small amount of hairspray on the stain and let it sit for 5-10 minutes. The alcohol in the hairspray can help dissolve the ink. Rinse off the hairspray.
– Wash the shirt as usual.
DRIED INK STAIN
– Treat the stain with a small amount of alcohol-based hand sanitiser. The alcohol can help lift the ink without damaging the fabric.
– Apply a thin layer of cold milk or shaving cream to the stain and let it sit for 15-20 minutes. The proteins in the milk or cream can help bind to the ink and draw it out. Rinse with cold water and wash as usual.
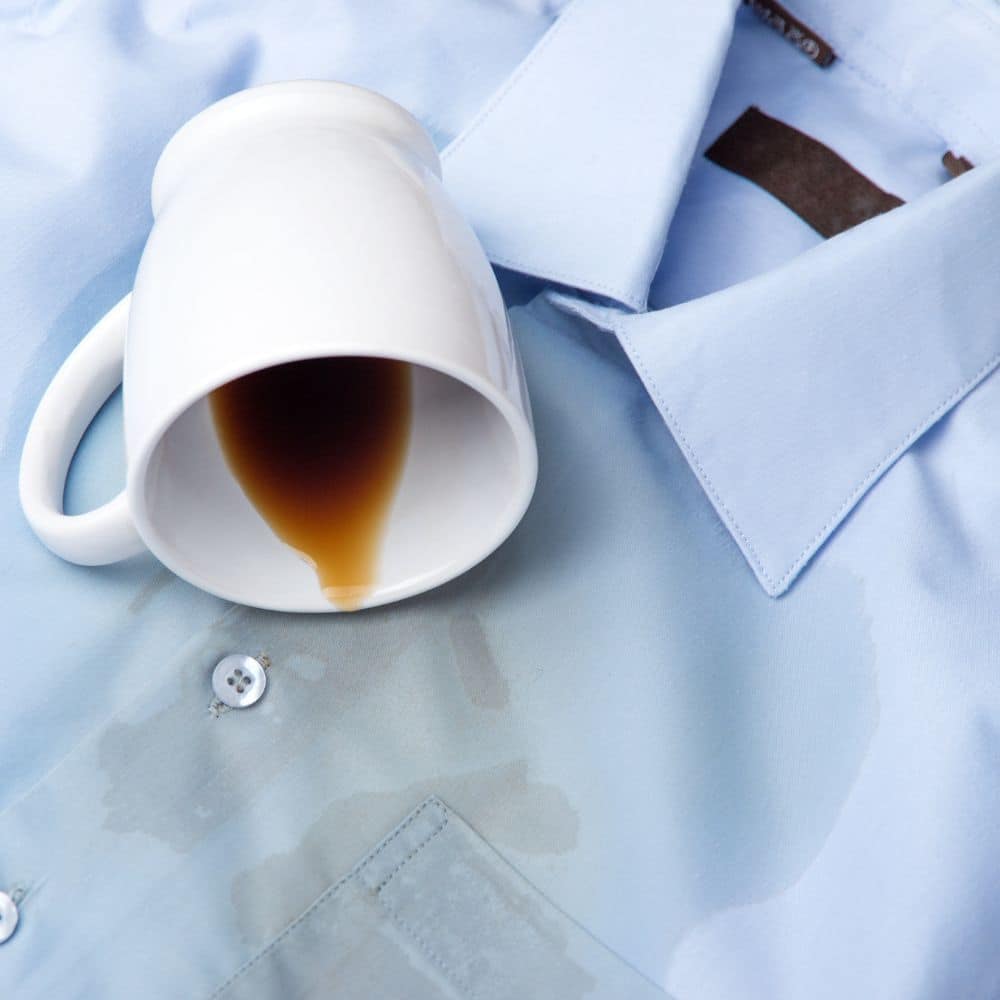
COFFEE STAINS
FRESH SPILL
– Avoid scrubbing, as that can spread the stain. Instead, grab a clean, absorbent cloth (paper towels work too!) and blot the excess coffee up gently.
– Run cold water from the back of the stain to push it out through the fabric’s front. This helps prevent the stain from settling deeper.
– Apply a dab of dish soap to the stained area. The grease-cutting power of dish soap works wonders on coffee’s oily components. Let it sit for 15 minutes.
– Wash the shirt according to the care label instructions.
SET IN STAINS
— Gently absorb excess coffee with a clean, dry cloth. Blot, don’t rub, to avoid spreading the stain.
— Pre-soak the stain in dishwashing detergent, and white vinegar for 15 minutes.
— Rinse using warm water.
— Use a sponge with rubbing alcohol and gently blot the remaining stain.
— Give the fabric another warm water rinse to wash away any lingering stain or alcohol traces.
— Let the fabric air dry to prevent the stain from setting further.
— Once dry, follow the care label’s instructions for a normal laundry cycle.

Red Wine Stains
Fresh Stain
– Soak the stain with vinegar (white works best!). Gently rub some laundry detergent into the vinegar-soaked stain and let the mixture sit for about 20 minutes. Then, wash your clothes in cold water.
OLD STAIN
– If you haven’t noticed the stain before, try using store-bought stain remover like oxi cleaner. For extra power, soak the stain in laundry detergent for 30 minutes in cold water before applying the stain remover.
Remember: The faster you catch the red wine spill and treat the stain, the more likely you’ll be able to remove it.

SWEAT STAINS
– Before washing, soak the stained area in a mixture of cool water and mild dish soap or laundry detergent for 30 minutes to an hour. Rinse thoroughly and then wash as usual.
– For stubborn stains, sprinkle baking soda on the damp stain and gently rub with a wet washcloth. Leave it on for 15 minutes, then rinse and wash. Baking soda acts as a natural deodoriser and stain remover.
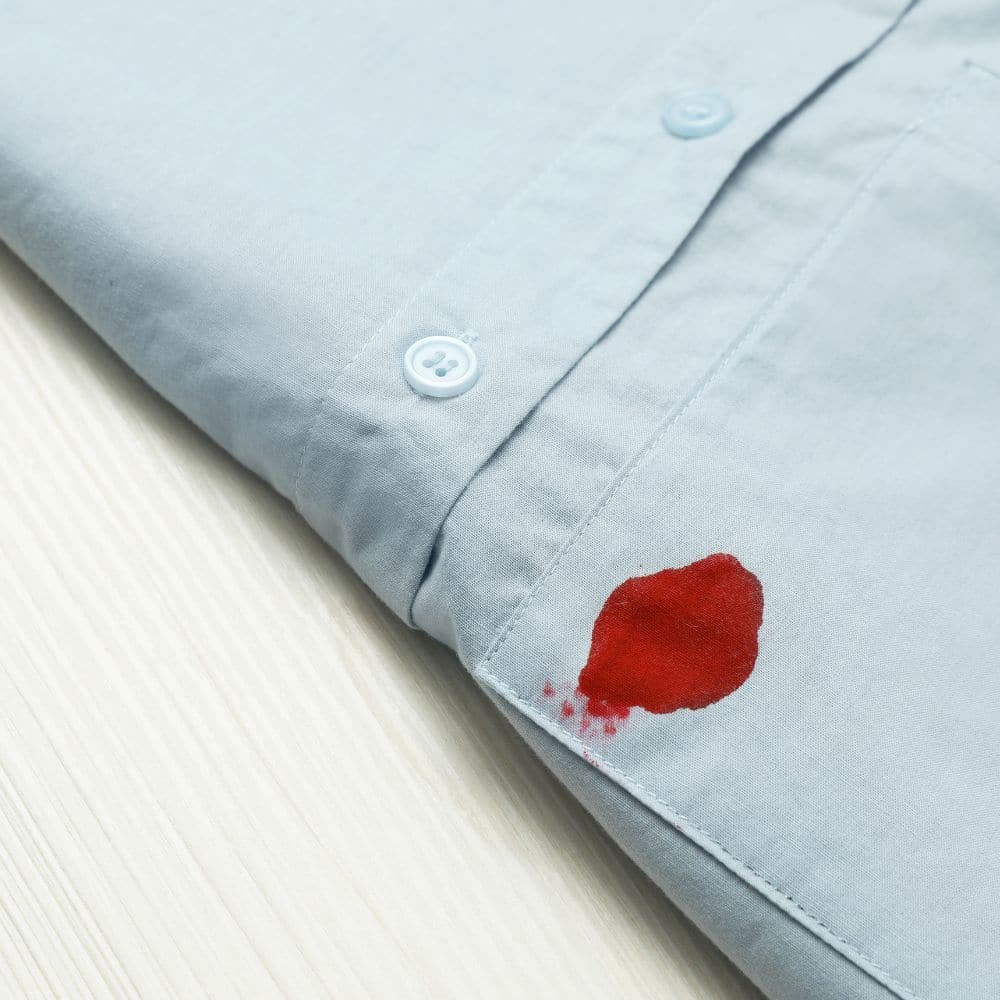
BLOOD STAINS
Fresh Stain
– Treat the stain as soon as possible.
– Hold the stained area under cold running water from the back of the fabric. This will push the blood out from the fabric.
– Apply stain remover directly to the stain. These enzymes break down protein molecules in the blood, making it easier to remove.
– Wash the shirt on a gentle cycle with cold water. Avoid using hot water, as it can set the stain permanently.
OLD STAIN
– If the stain is already dried, soak the affected area in cold water for at least 30 minutes. This will loosen the dried blood and make it easier to remove.
– Apply a generous amount of enzyme-based laundry detergent directly to the stain. Let it sit for another 30 minutes to an hour.
– Make a paste by mixing baking soda with a little water. Spread the paste over the stain and let it sit for 30 minutes to an hour. Baking soda will further lift the stain.
–Rinse the treated area thoroughly with cold water. Wash the shirt on a gentle cycle with cold water.
WASHING AND DRYING
– Remove those stiff inserts to prevent uneven wear and tear on the points
– Avoid straining the stitches by undoing all buttons before tossing your shirt in the wash
– Turn the shirt inside-out as it protects delicate buttons from chipping and allows detergent to reach underarm stains.
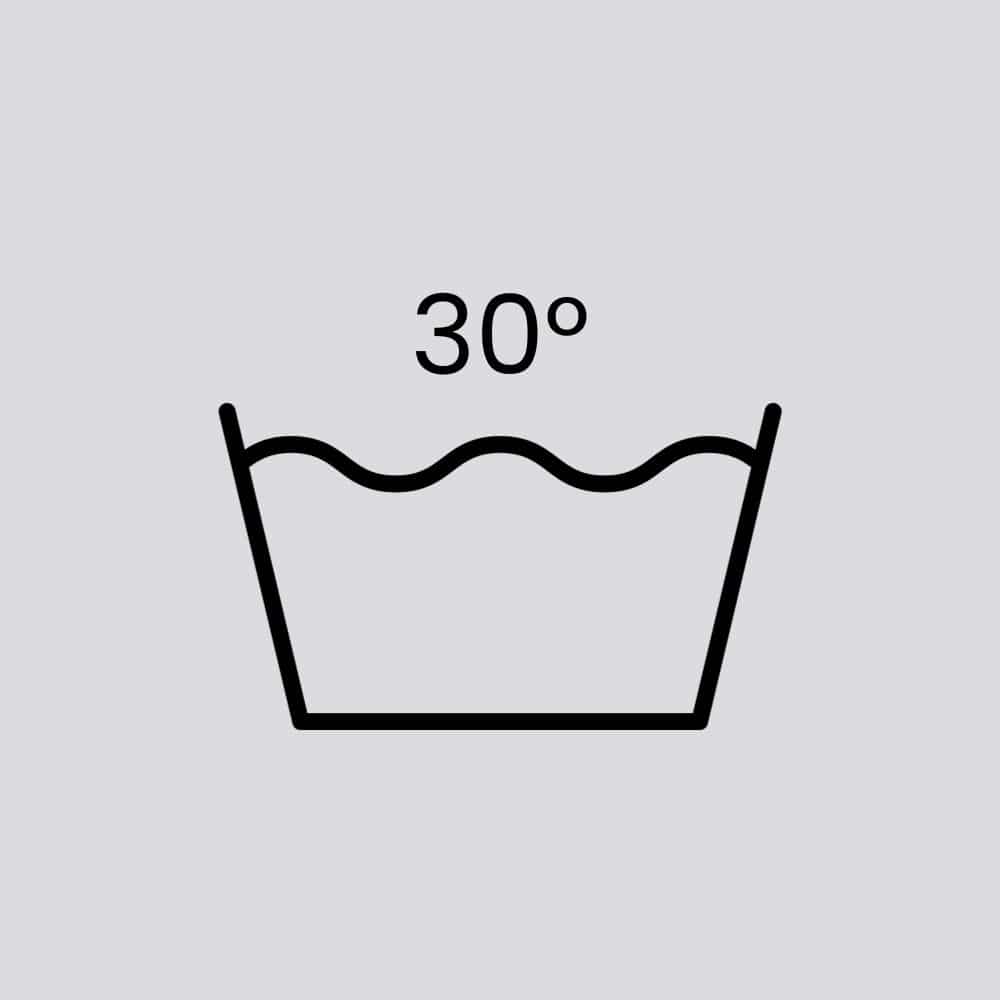
– The safest temperature to wash all shirt fabrics is between 30°C to 40°C

– Sort by colour to avoid the colour transfer/bleeding
– Opt for a gentle or delicate cycle to avoid stretching or damaging the fabric
– Avoid overloading as it can lead to inadequate cleaning and wrinkles
DRYING
– Air drying on a hanger is the safest bet for avoiding shrinkage and wrinkles. However, if using a dryer, choose a low heat setting to minimise the shrinkage.
IRONING
– Tackle wrinkles while the shirt is still slightly damp for the smoothest finish.
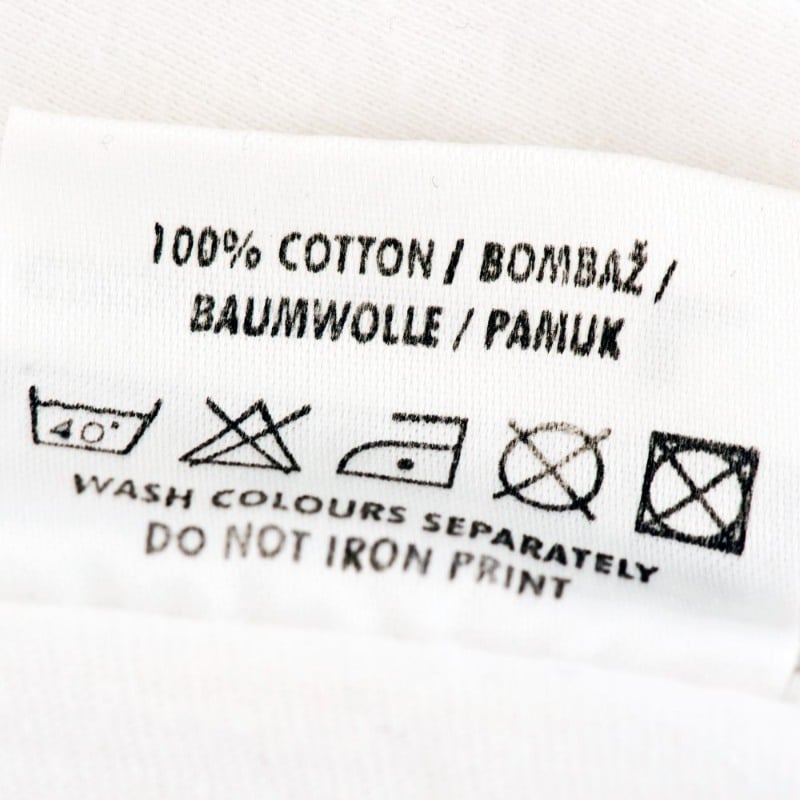
– Remember to check your shirt’s care label for specific heat settings. When in doubt, always choose low heat settings.
– Iron your cuffs unbuttoned and unfolded, similar to how you tackle the collar (i.e. both sides).
– Keep your shirt unbuttoned throughout the entire ironing process. This makes the process easier and prevents unwanted creases.
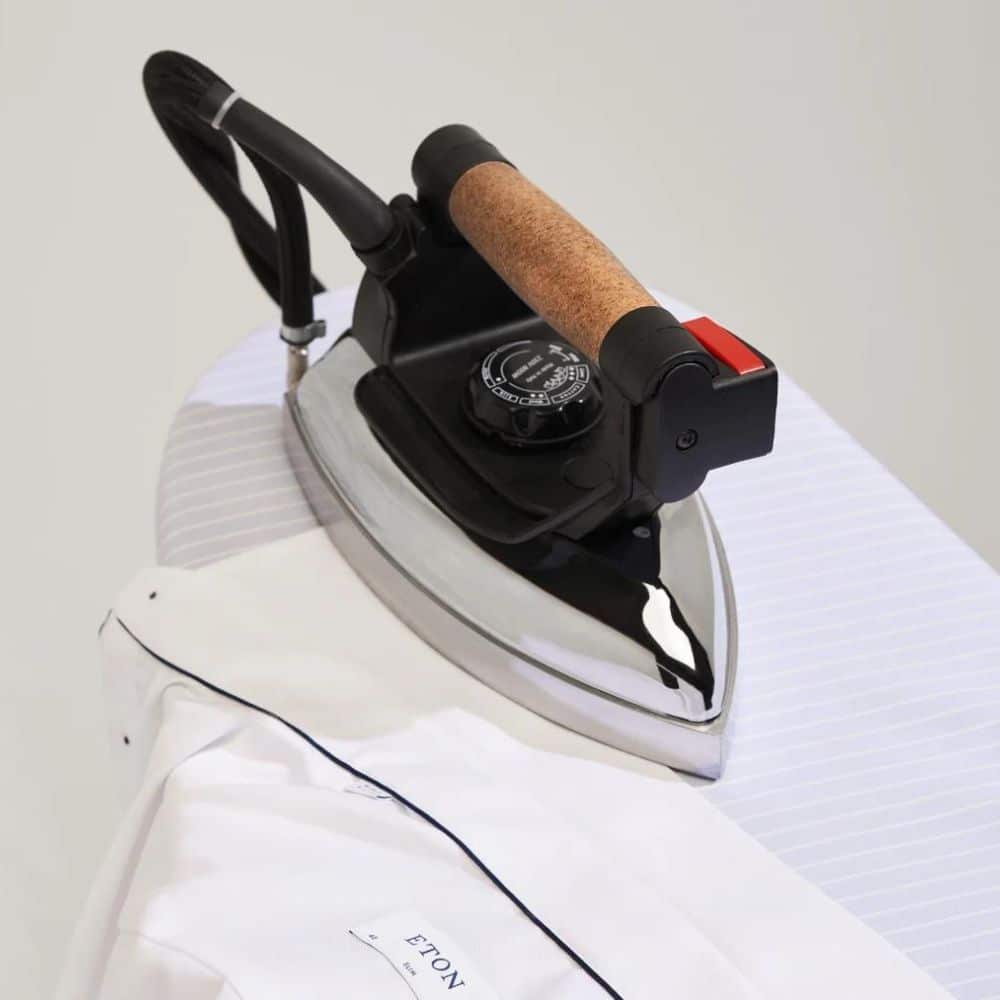
– Try not to use too much pressure when ironing the collar tips; These delicate areas are prone to wear and tear from ironing.
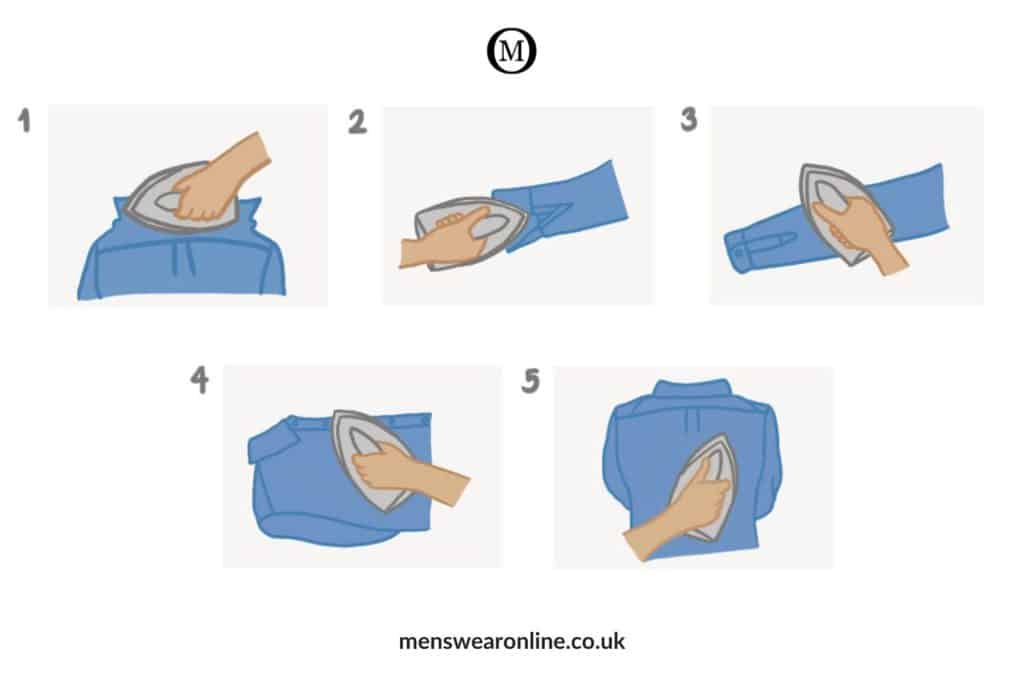
– The general order to iron a shirt: start with the collar and cuffs, then move on the sleeves, shoulders, and front panels, finishing with the back. Don’t forget to revisit any areas that might have creased during ironing.
HOW TO PACK A SHIRT WHEN TRAVELLING
ROLL

– Find a clean and flat surface. Button shit all the way up, laying it flat back side facing you.
– Fold the shirt in half vertically, sleeve against sleeve.
– Fold both sleeves down along the sides, aligning them with the existing fold.
– Starting at the bottom, gently roll the shirt upwards, going until you reach the collar.

FOLD
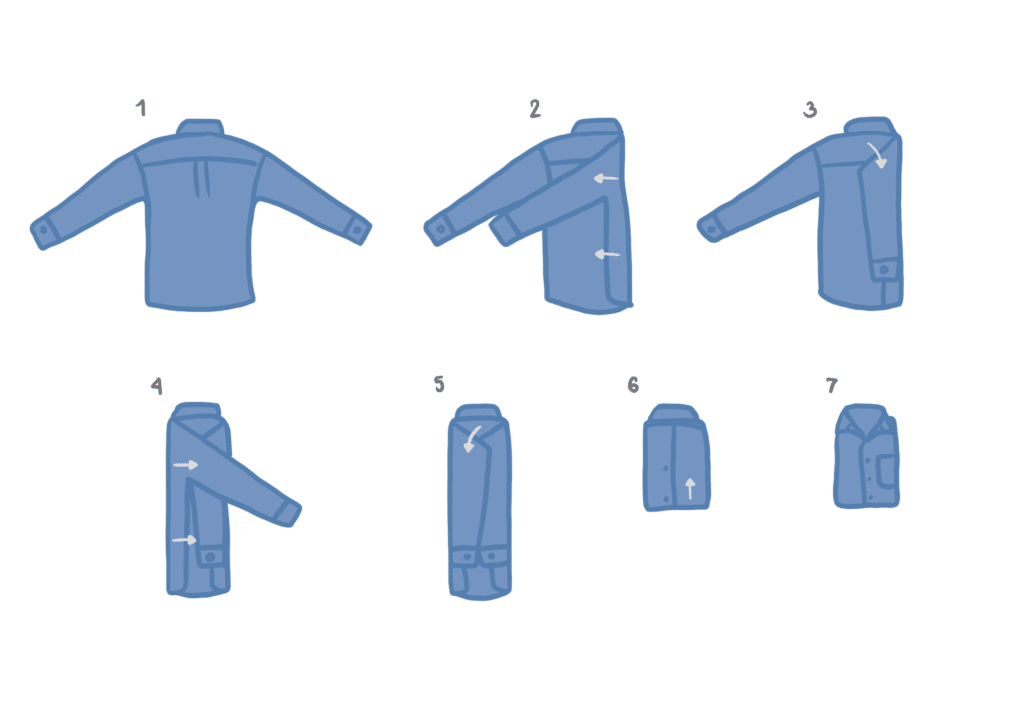
– Start with all buttons fastened.
– Lay your shirt flat, face down, on a clean surface, spreading it out evenly.
– Place your finger near the collar. Now, fold one sleeve diagonally across the back, aiming for about a third of the front to overlap. Repeat this move with the other sleeve.
– Grab a shoulder and fold the cuff back up to meet it, creating a diagonal line. Do the same on the other side.
– Hold the bottom of your shirt and fold it up towards the collar.
– Turn your shirt over, button side up, and it’s ready to be packed.
Explore more

Currently studying Business Management and Marketing. Love spending my time at the cafes, trying out new drinks while reading a book.
- Weronika Jasinskahttps://www.menswearonline.co.uk/author/weronika/August 2, 2024
- Weronika Jasinskahttps://www.menswearonline.co.uk/author/weronika/July 9, 2024
- Weronika Jasinskahttps://www.menswearonline.co.uk/author/weronika/June 18, 2024







No Comments